


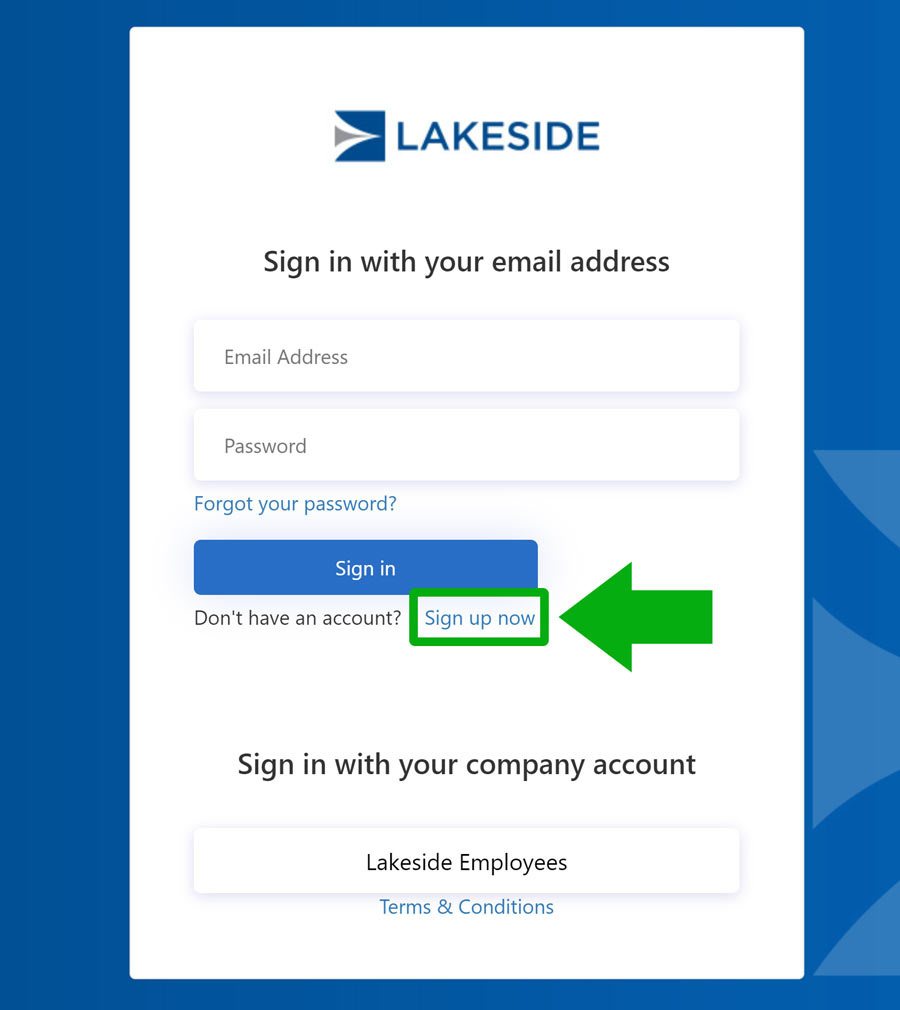
You can log into the portal directly by going to the "Portal Sign In" page HERE, where you can input your previously setup login information to enter the portal
Or, you could go to the "Customer Portal Landing" page found HERE. Click on the "LOGIN / SIGN UP" icon on the left, this link will also take you to the "Portal Sign In" page noted above
Or, you could go to the "Customer Portal Landing" page found HERE. Click on the "LOGIN / SIGN UP" icon on the left, this link will also take you to the "Portal Sign In" page noted above
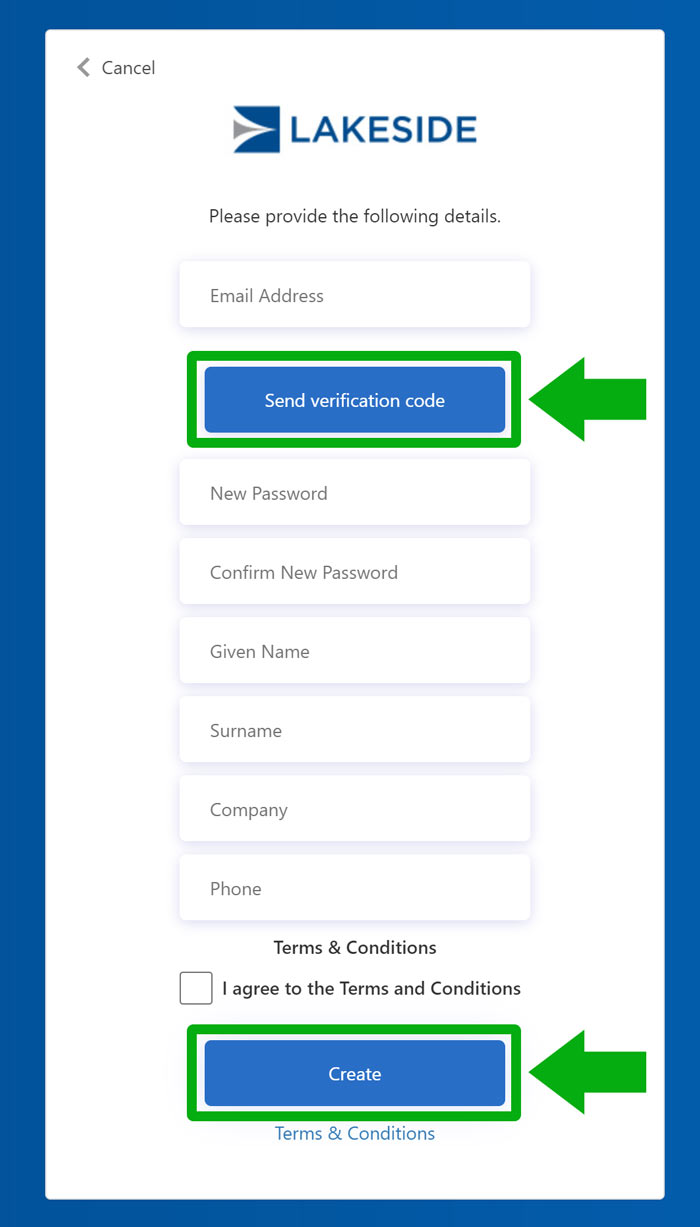
Step 3: Complete all fields and click on the "Create" button (NOT send verification code)
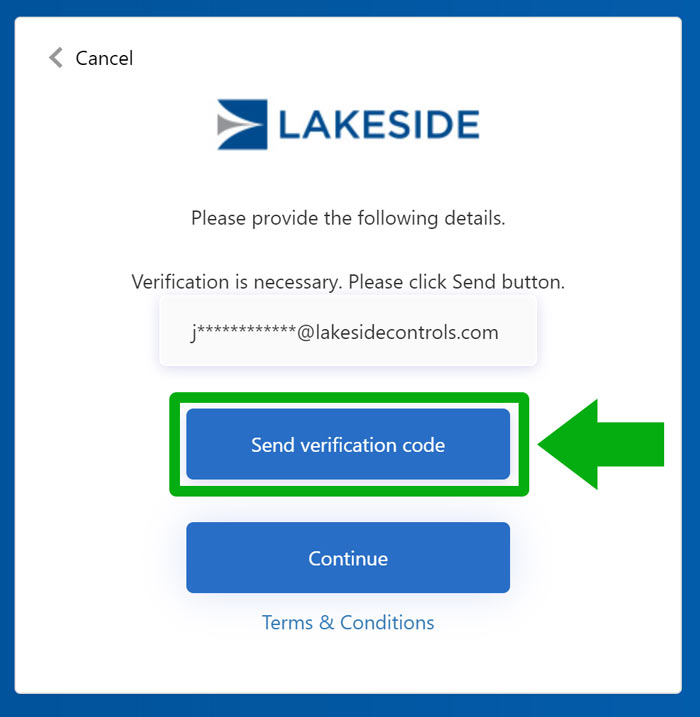
Step 4: You will get a message that some fields are no filled out. Click the "Send verification code” button. You will receive a verification code to the email address you provided
Step 5: Enter the verification code in the box dispayed and click the "Create" button (NOT verify code)
Step 6: You will then have to click the “Send verification code” again. For security purposes, we require 2 step authentication. You will only need to do this extra verification on the original sign up.
Step 7: You will receive a second email with a new code. Enter that code in the box provided and click the “Verify code” button. You have now completed your request for access to the portal.
Step 8: Your request for access approval will be processed within 24 hours. You will receive an email when your access has been approved. While your access request is being reviewed, you will be able to click “Continue” and enter the main screen of the portal. You will not be able to access any data until your access has been approved.
If you are experiencing issues with the registration process, please contact your Lakeside Account Manager for help.
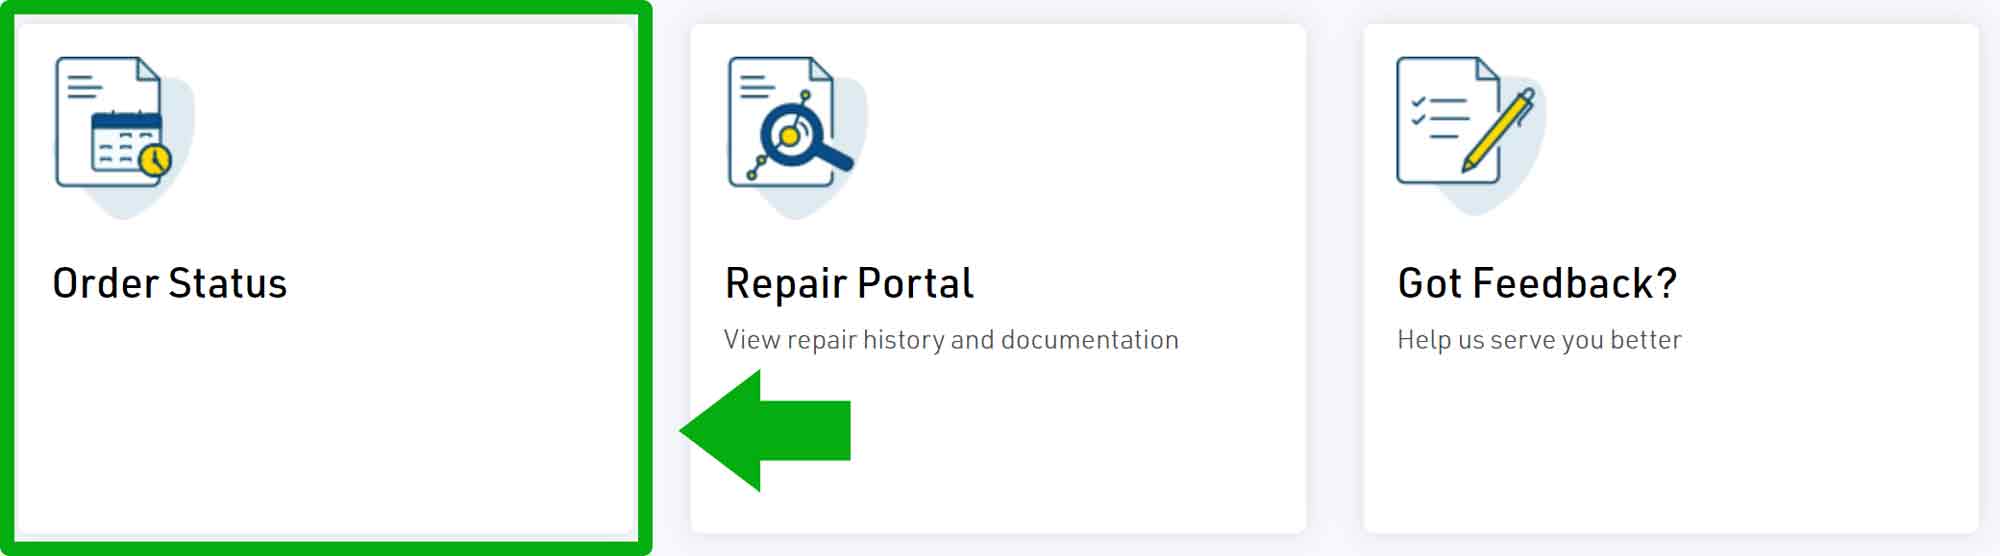
Step 1: The first screen you will see will give you different options in the form of "tiles"
Step 2: Click on the tile "Order Status"
Step 2: Click on the tile "Order Status"

Once you are in "Order Status", you have 4 options for searching.
- Customer PO Number
- Lakeside Ref#
- Start Date / End Date (this is based on Customer PO date)
- Order Status – Show All, In Progress, Partially Shipped and Shipped

Step 3: Enter the criteria for your Search (If you just hit search without entering anything, it will bring up all your orders in every status)
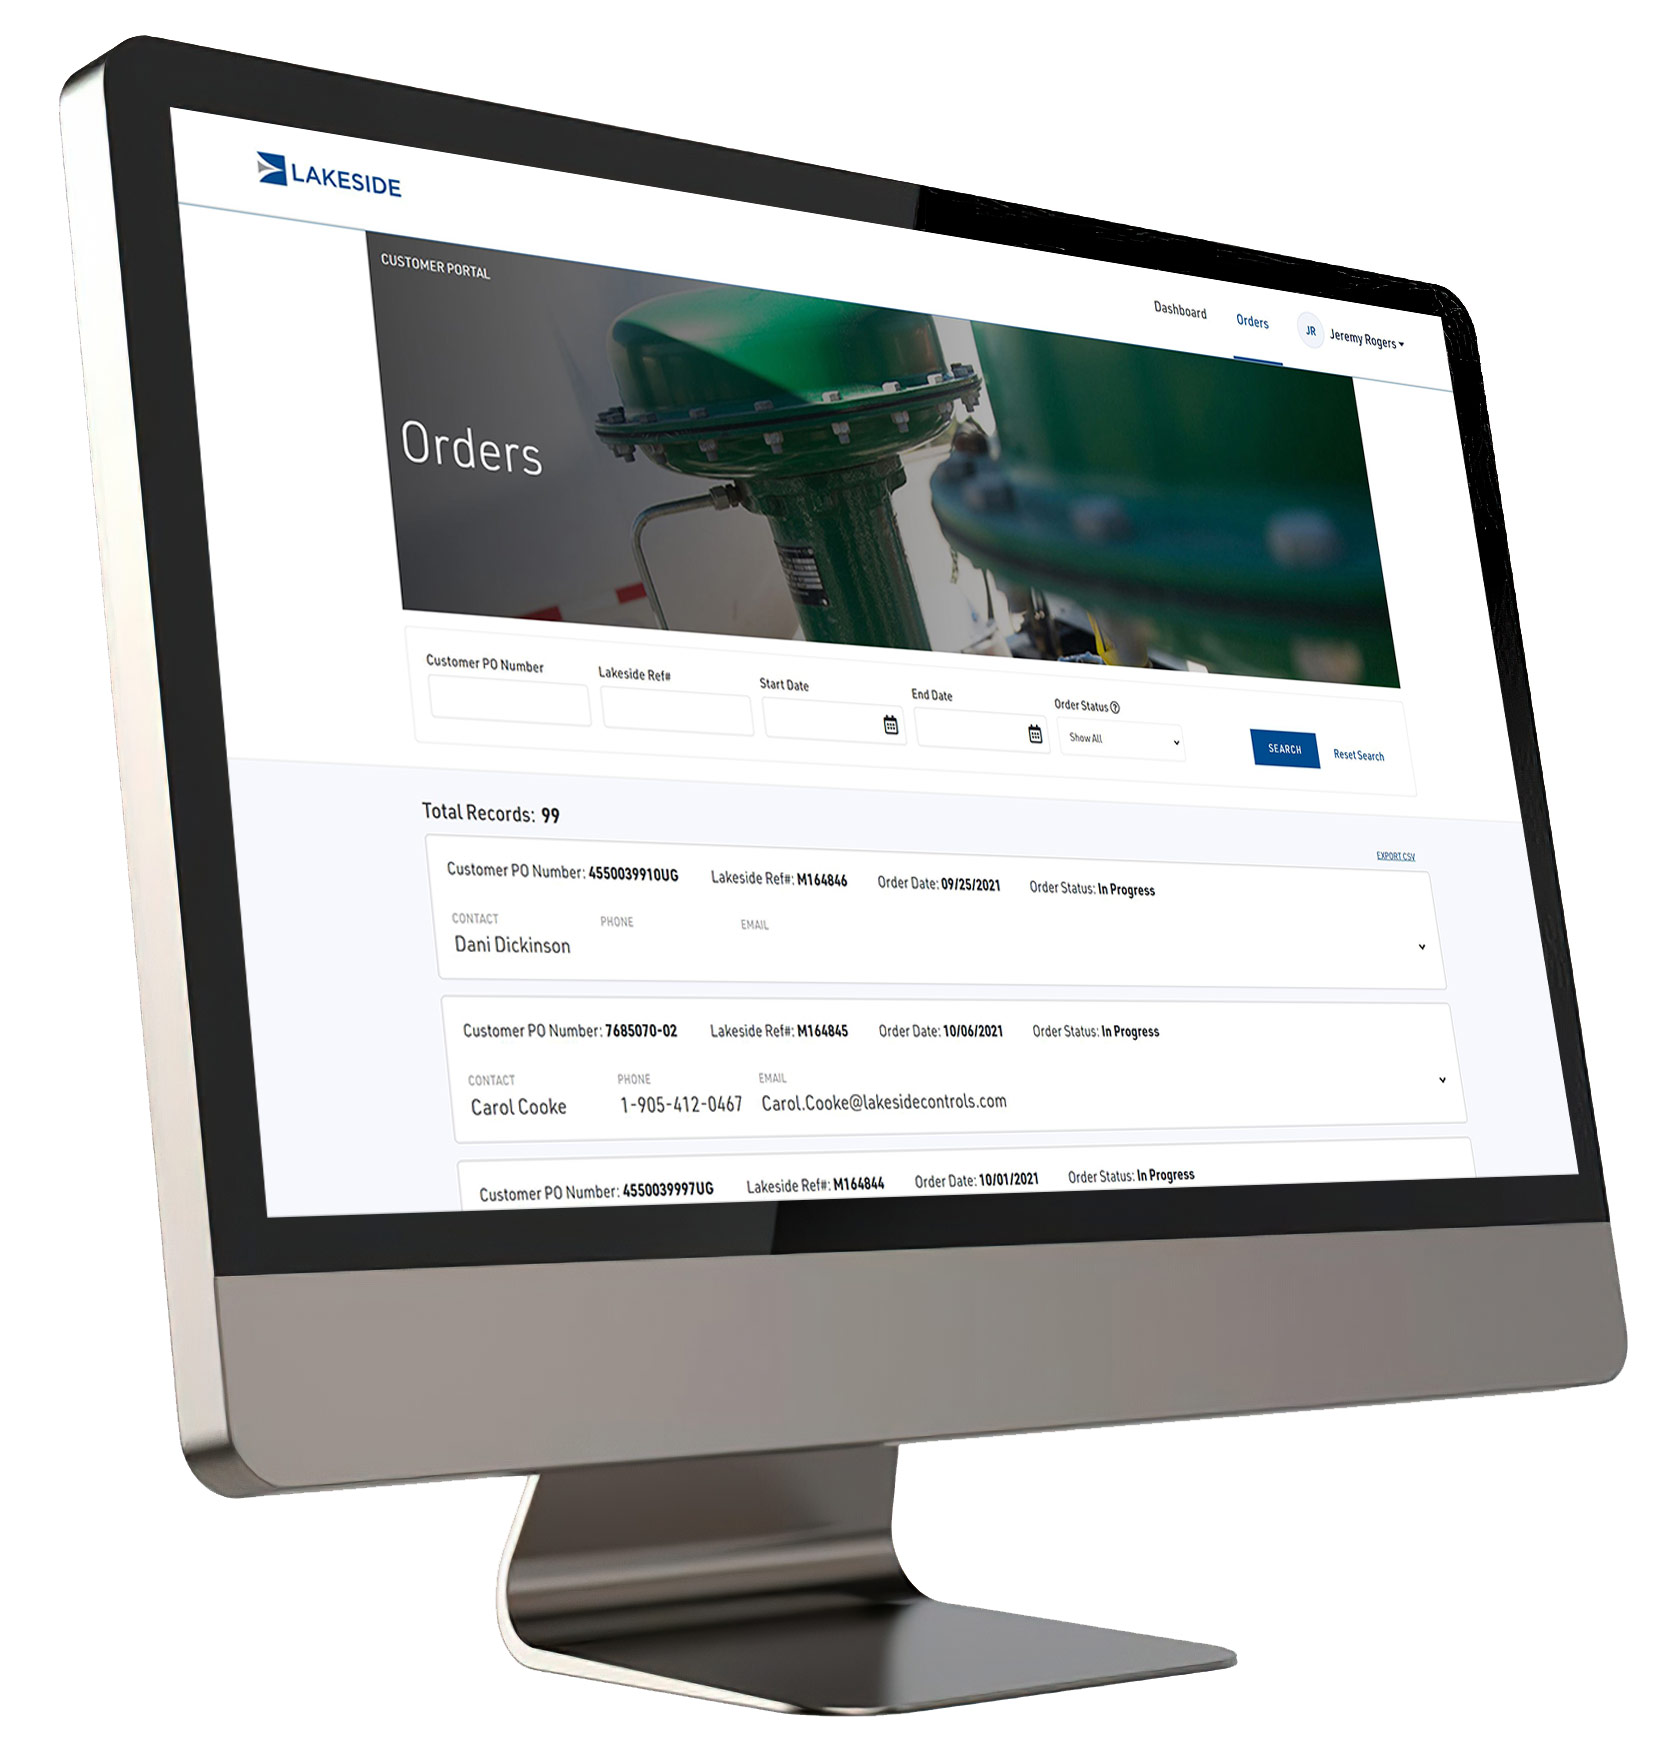
Step 4: Once you click the "search" button, information and records found will be displayed below the search criteria fields. You will now see order level basic information.
If you would like to export the data into Excel you can select the “Export CSV” button at the top right of the record.
Step 4: Once you click the "search" button, information and records found will be displayed below the search criteria fields. You will now see order level basic information.
If you would like to export the data into Excel you can select the “Export CSV” button at the top right of the record.
On the far right, you will see a "Down Arrow", if you click on this, it will bring you to detailed line information about your purchase order
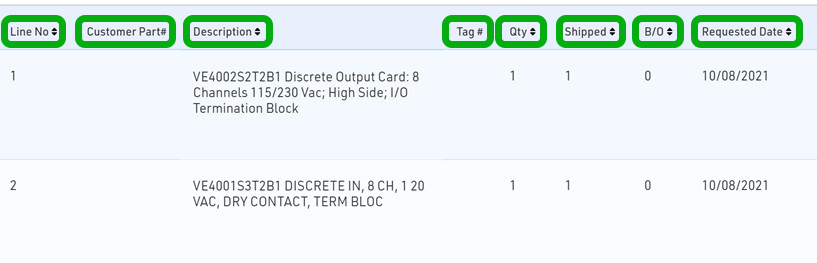
Here you will find the following details:
- Line No. (line-item number of your purchase order)
- Customer Part# (if applicable)
- Description
- Tag# (if applicable)
- Qty (Qty. ordered)
- Shipped (Qty shipped)
- B/O (Backordered)
- Requested Date
- Promised Date
- Line Status
- Tracking (Waybill #’s for shipped items)
- Serial# (if applicable)
- Ship to address
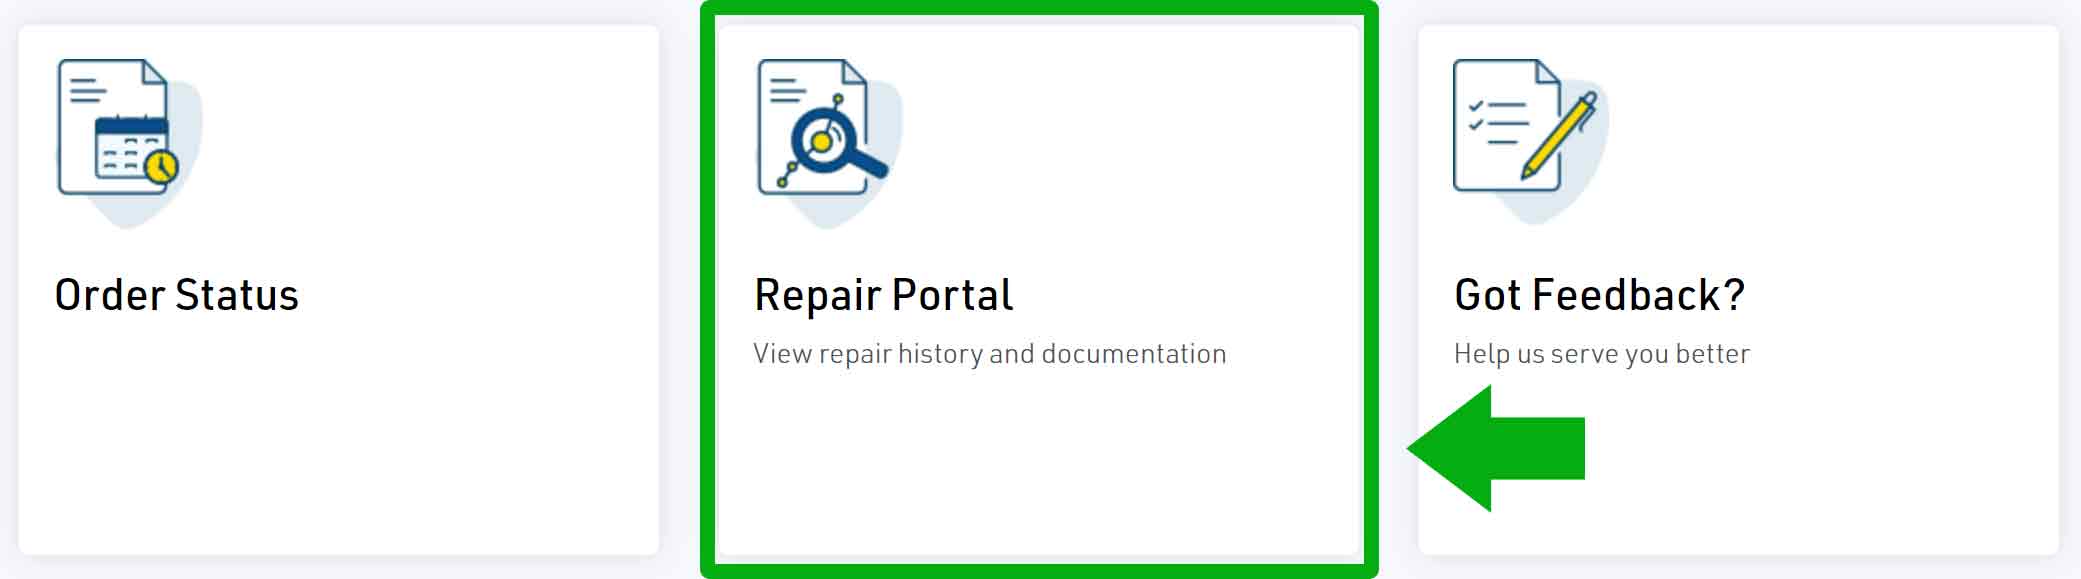
Step 1: The first screen you will see will give you different options in the form of "tiles"
Step 2: Click on the tile "Repair Portal"
Step 2: Click on the tile "Repair Portal"

Once in the "Repair Portal", you have 6 options for searching:
-
Tag#
-
Serial#
-
PO#
-
Service Type (On Site Service or In House Repair)
-
Repair Status (In Progress or Completed)
-
Finished Date (<=1 month, 3 months, 12 months or 36 months)
Step 3: Enter the criteria for your search – if you just hit search without entering anything it will bring up all your repairs in every status
Step 4: Once you hit search the ‘header,’ information and records found will be displayed below the search criteria fields
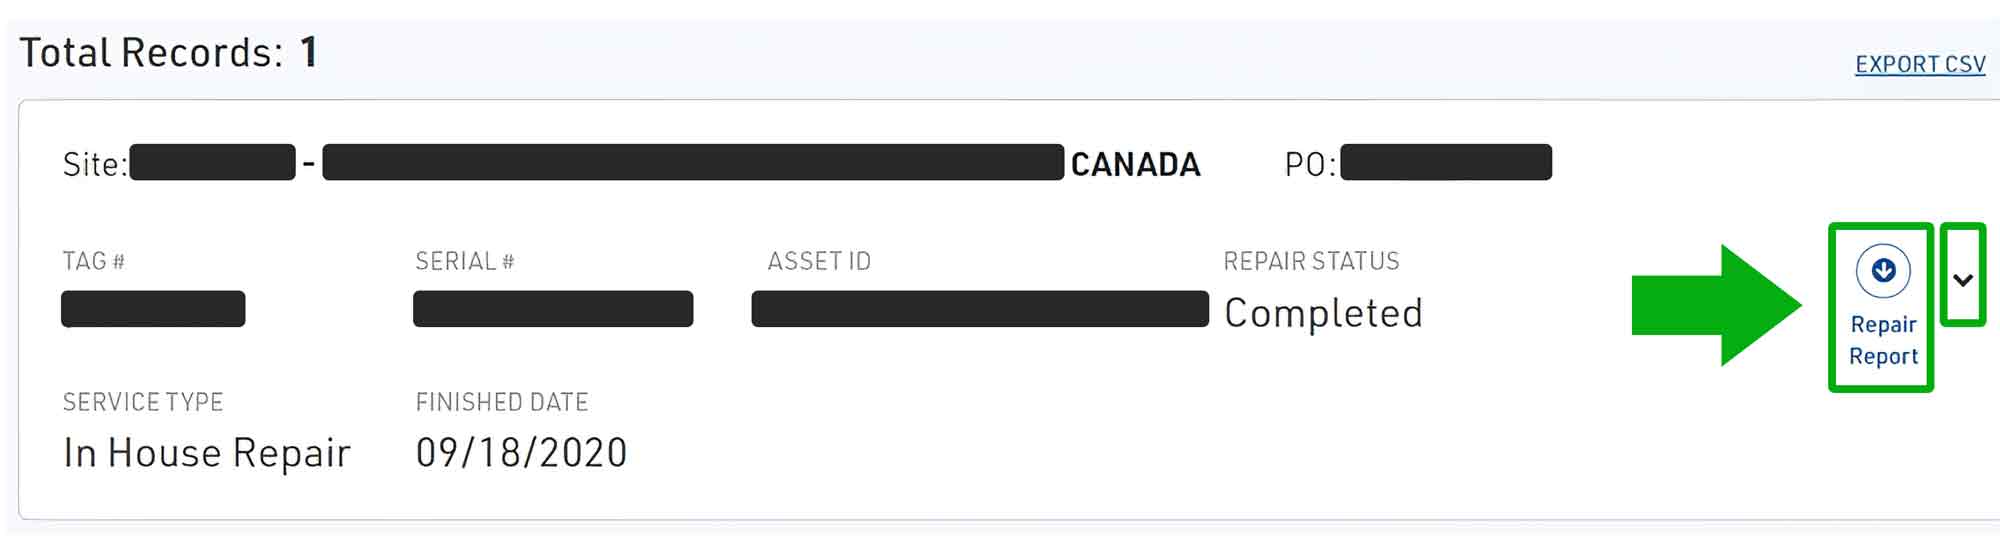
Step 5: You will now see the repair information as seen below
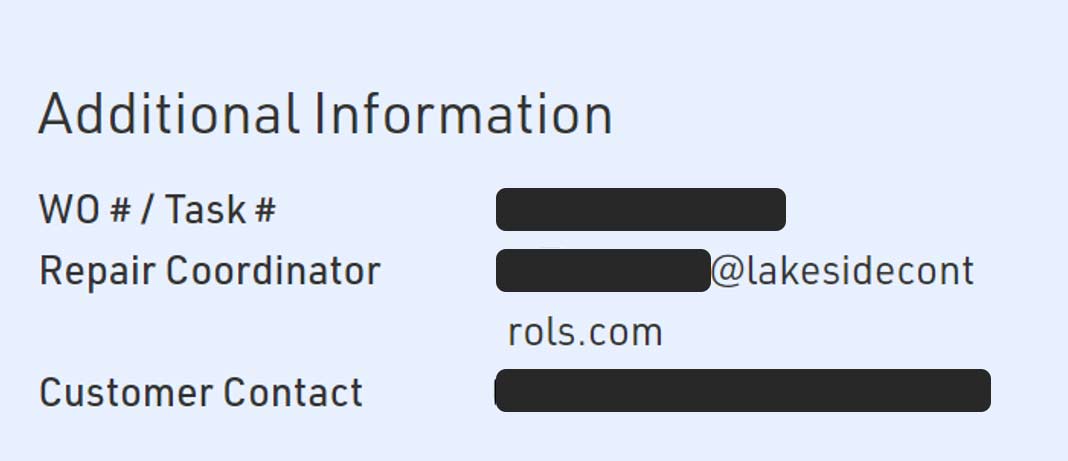
On the far right of the screenshot above you will see a 'down error' – if you click on this it will show you the Work Order / Task# as well as your Lakeside contact email for the repair
Also located on the right – if applicable, you will find the Repair Report – 'double click' to download/view this report
Also located on the right – if applicable, you will find the Repair Report – 'double click' to download/view this report
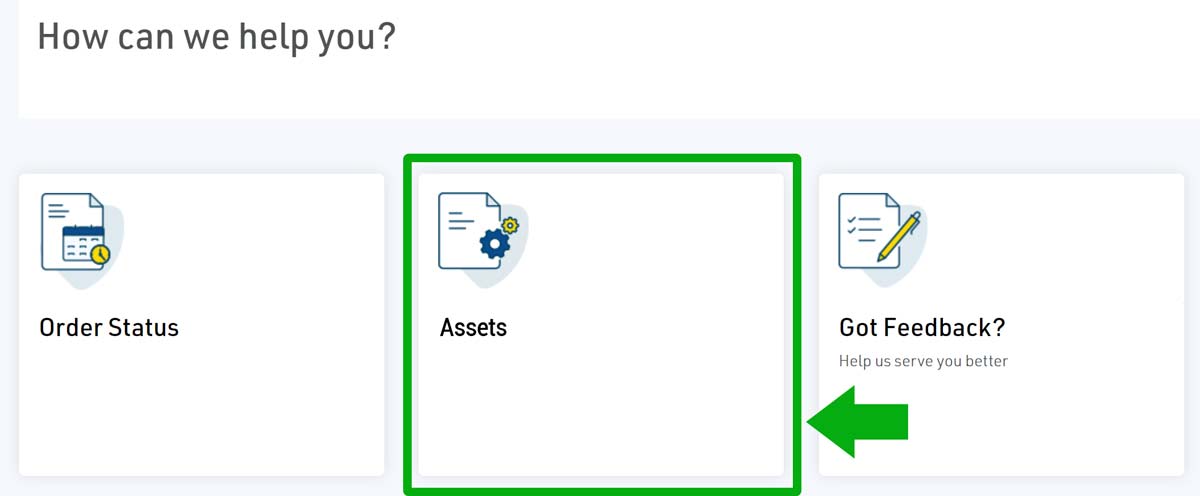
Step 1: The first screen you will see will give you different options in the form of "tiles"
Step 2: Click on the tile "Assets"

Once in here, you have 3 options for searching:
- Tag#
- Manufacturer Serial#
- Last Repair Date

Step 3: Enter the criteria for your Search (If you just hit search without entering anything, it will bring up all your orders in every status)
Step 4: Once you click the "search" button, information and records found will be displayed below the search criteria fields. You will now see the asset information as seen here.
Step 4: Once you click the "search" button, information and records found will be displayed below the search criteria fields. You will now see the asset information as seen here.
On the far right you will see an arrow with the word "Repair Report" under it – here you can download any repair reports associated with this asset. Simply click the "arrow" to download.